Can I Use a Permanent Marker on a Whiteboard?
Sharpie pens, grease pens, and paint markers are three types of markers that can stain or damage a whiteboard.
In some cases, a cleaning product can help remove the marker without damaging the board. These items are easily available at local stores and are easy to use.
When using a permanent marker on your whiteboard, it’s wise to wipe away the mark as soon as possible. Doing this will prevent future staining of the board.
There are various ways to do this, depending on the type of whiteboard you possess. One option is simply writing over it with a dry-erase marker.
1. Use a Dry-Erase Marker
Dry-erase markers are an excellent alternative to permanent ink for whiteboards, as they offer convenience and don’t smudge easily. Plus, once you are finished using them, simply wipe them away with a cloth.
These markers are much easier to clean up than permanent inks since they contain silicone polymers that shield colored pigment from coming into contact with surfaces.
Dry-erase markers can be removed from most nonporous materials, such as plastics, vinyl wallpaper, glass, and metal.
Over time, however, whiteboards can become filled with stray marks that don’t disappear when the dry-erase marker is erased. If you notice a lot of these smudges, consider performing a deep clean to completely eradicate them all.
2. Use a Wet-Erase Marker
If you need to make permanent markings on a whiteboard, wet-erase markers are the way to go. These markers are designed for nonporous surfaces like glass, plastics, and metals and use semi-permanent ink that won’t fade easily.
Wet-erase markers come in an assortment of shapes, sizes, and styles. With fine, broad, or chisel tips, you can add finer details to your writing.
Wet-erase markers have the advantage of staying wet longer than dry-erase markers, with ink taking 24 hours to settle on surfaces – making it difficult to remove without scrubbing.
3. Cover the Marks with Contact Paper or Tape
Contact paper is a versatile material available in an array of patterns. Not only is it easy to install, but it also provides an inexpensive way to give your home an elegant new look.
Countertop and shelf covers are perfect for protecting counters and shelves from scratches and stains, adding a decorative touch that makes your kitchen more inviting. Plus, this type of material is cost-effective and requires little upkeep.
To apply it, peel back about 6 inches of the backing and stick it onto whatever surface you’re covering. Use a smoothing tool (like a credit card) to push out any air bubbles and ensure the paper adheres firmly to the substrate.
4. Use an Eraser
When it comes to removing permanent markers, an eraser is an invaluable tool. Just be sure to use the right one; abrasives may damage your board and cause ghosting.
Use a clean, dry eraser and draw over the permanent marker with it. Doing so will enable you to wipe it away quickly and conveniently.
Another effective option is to use an alcohol-based sanitizer that will break down the ink. Simply spray some on a microfiber cloth and wipe down the whiteboard until all traces of ink have been eliminated.
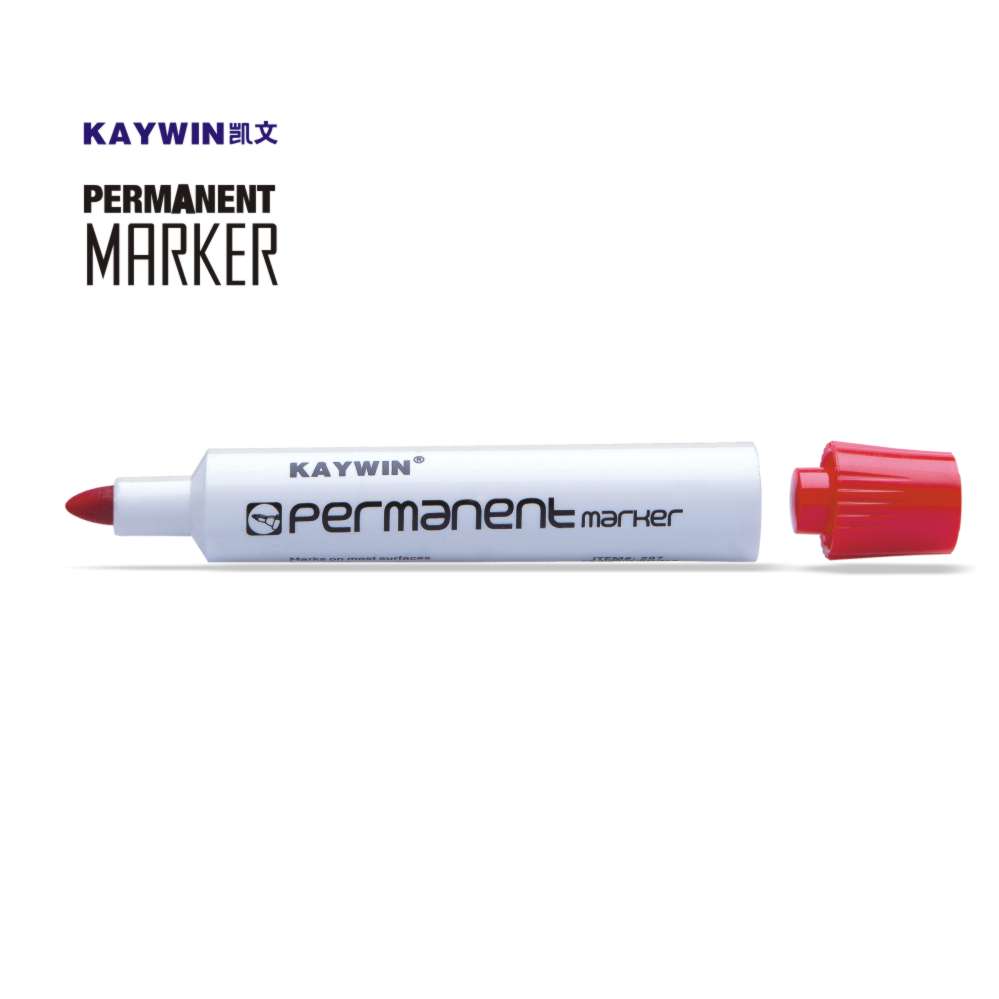
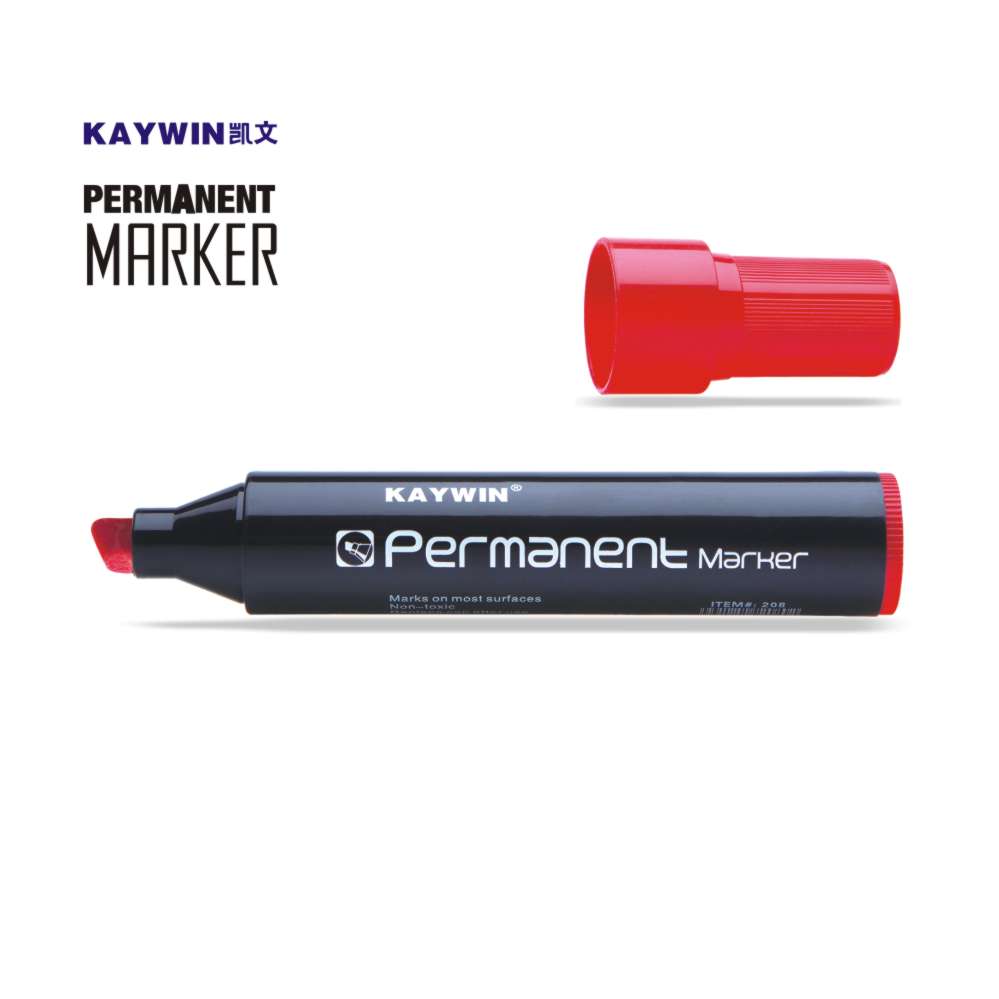
Kaywin permanent markers are ideal for professionals, students, and hobbyists who demand top-quality art supplies and coloring tools. Their long-lasting permanent ink can be used on virtually any surface drawn on.
These markers are water-resistant, fade-resistant, and erasable if necessary. You can use them to quickly sketch out simple sketches or add detailed colors for more complex projects.


